
When a client mailed me his baseball cap from California it dawned on me that not everyone knows how to sew patches on baseball caps. With his hat there was a thank you note saying no one there would sew it and that it would require a special type sewing machine. There is a special machine but you can do patches with a regular sewing machine.
supplies
- sewing machine
- thread
- spray adhesive or double sided tape
optional supplies
- open toe foot
- iron that steams
1. After figuring out the placement of your patch use double sided tape or spray adhesive to hold it on. Using pins is not a good option. Why? You stab yourself trying to get around such a small space and they prove to be cumbersome.

2. Use a heavy denim sewing machine needle, the best matching thread you can find, open toe foot (so you can see really well) and a 2.0 stitch length. The color match will hide not so perfect stitches and a smaller stitch length will make it easy to go around curves.

3. Flatten out the area with the patch and place it under the bed of your machine. Start stitching and don’t worry about back stitching until the end. Caution ⚠️ when you get around a curve the bill of the hat will get hung up on the bed of the machine. Take it slow – stopping to pivot and turn as much as needed and keeping the bill of the hat out of your way.

4. If you have creased your hat during the process shoot a little iron steam on it. Careful ⚠️ if your hat is foam or polyester it may scorch.

Patch was made by local artist, Ramshackle Wild.
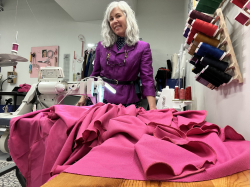
Behind the scenes~


Thank you for reading,
Tracy McElfresh
Dream it, see it!
- Mini Handmade Memade Fashion Show - June 12, 2026
- My First Official Custom Memory Gift Order for my New Business - June 10, 2026
- Time For Big Changes - June 8, 2026


Leave A Comment
You must be logged in to post a comment.