
I use a regular sewing machine to do free-motion embroidery. Most people don’t realize this and when they hear “embroidery,” their immediate ask is what kind of embroidery machine do I have. “I don’t,” I say excitedly, “I am painting with thread on my sewing machine!”
I was gifted a half-finished wrap skirt with beautiful artwork and from the 1960s by a great friend. When I looked closely, parts of the fabric were dry-rotted. Further study of the art led me to a tourist 1950-’60s brand called Kent via eBay. I decided to make it my job to salvage the art.

I quickly realized that if I free-motion embroidered over the motif, it would preserve it. This was only the beginning of a huge project. I got the “What have I gotten myself into?” feelings.

I love to start with a flat sketch of my design. Since the salvaged motif I acquired from a friend was so busy, I wanted to keep the rest of the dress simple.
I drafted the pattern and made my first wearable muslin. The first design had problems -as they always do: the arm sleeves were too tight, the dress was too long, and it wasn’t wide enough to hold the motif. Once I fixed the arms, the dress was wearable.


Choosing the background fabric was a big deal. I picked three choices while we were van camping across America, and then let social media decide. The fabric is designed by Christiane Marques and made by Robert Kaufman. I bought it in a little German town, Fredericksburg, Texas, in a store called Things in a Room.

I redrafted the pattern, then pieced the front and back of the dress separately so that it would be easier to add my Mexican city scene and start the process of free-motion sewing over the brush strokes.
To appliqué the motif to the dress, I chose a product called Wonder Under. It is ironed onto the appliqué, then the paper backing peels off and what’s left gets ironed onto the dress. In the past, I’ve used spray adhesive, although that will gum up my needle and cause problems while free-motion sewing. If I have multiple little pieces to sew, a regular glue stick is a great tool.
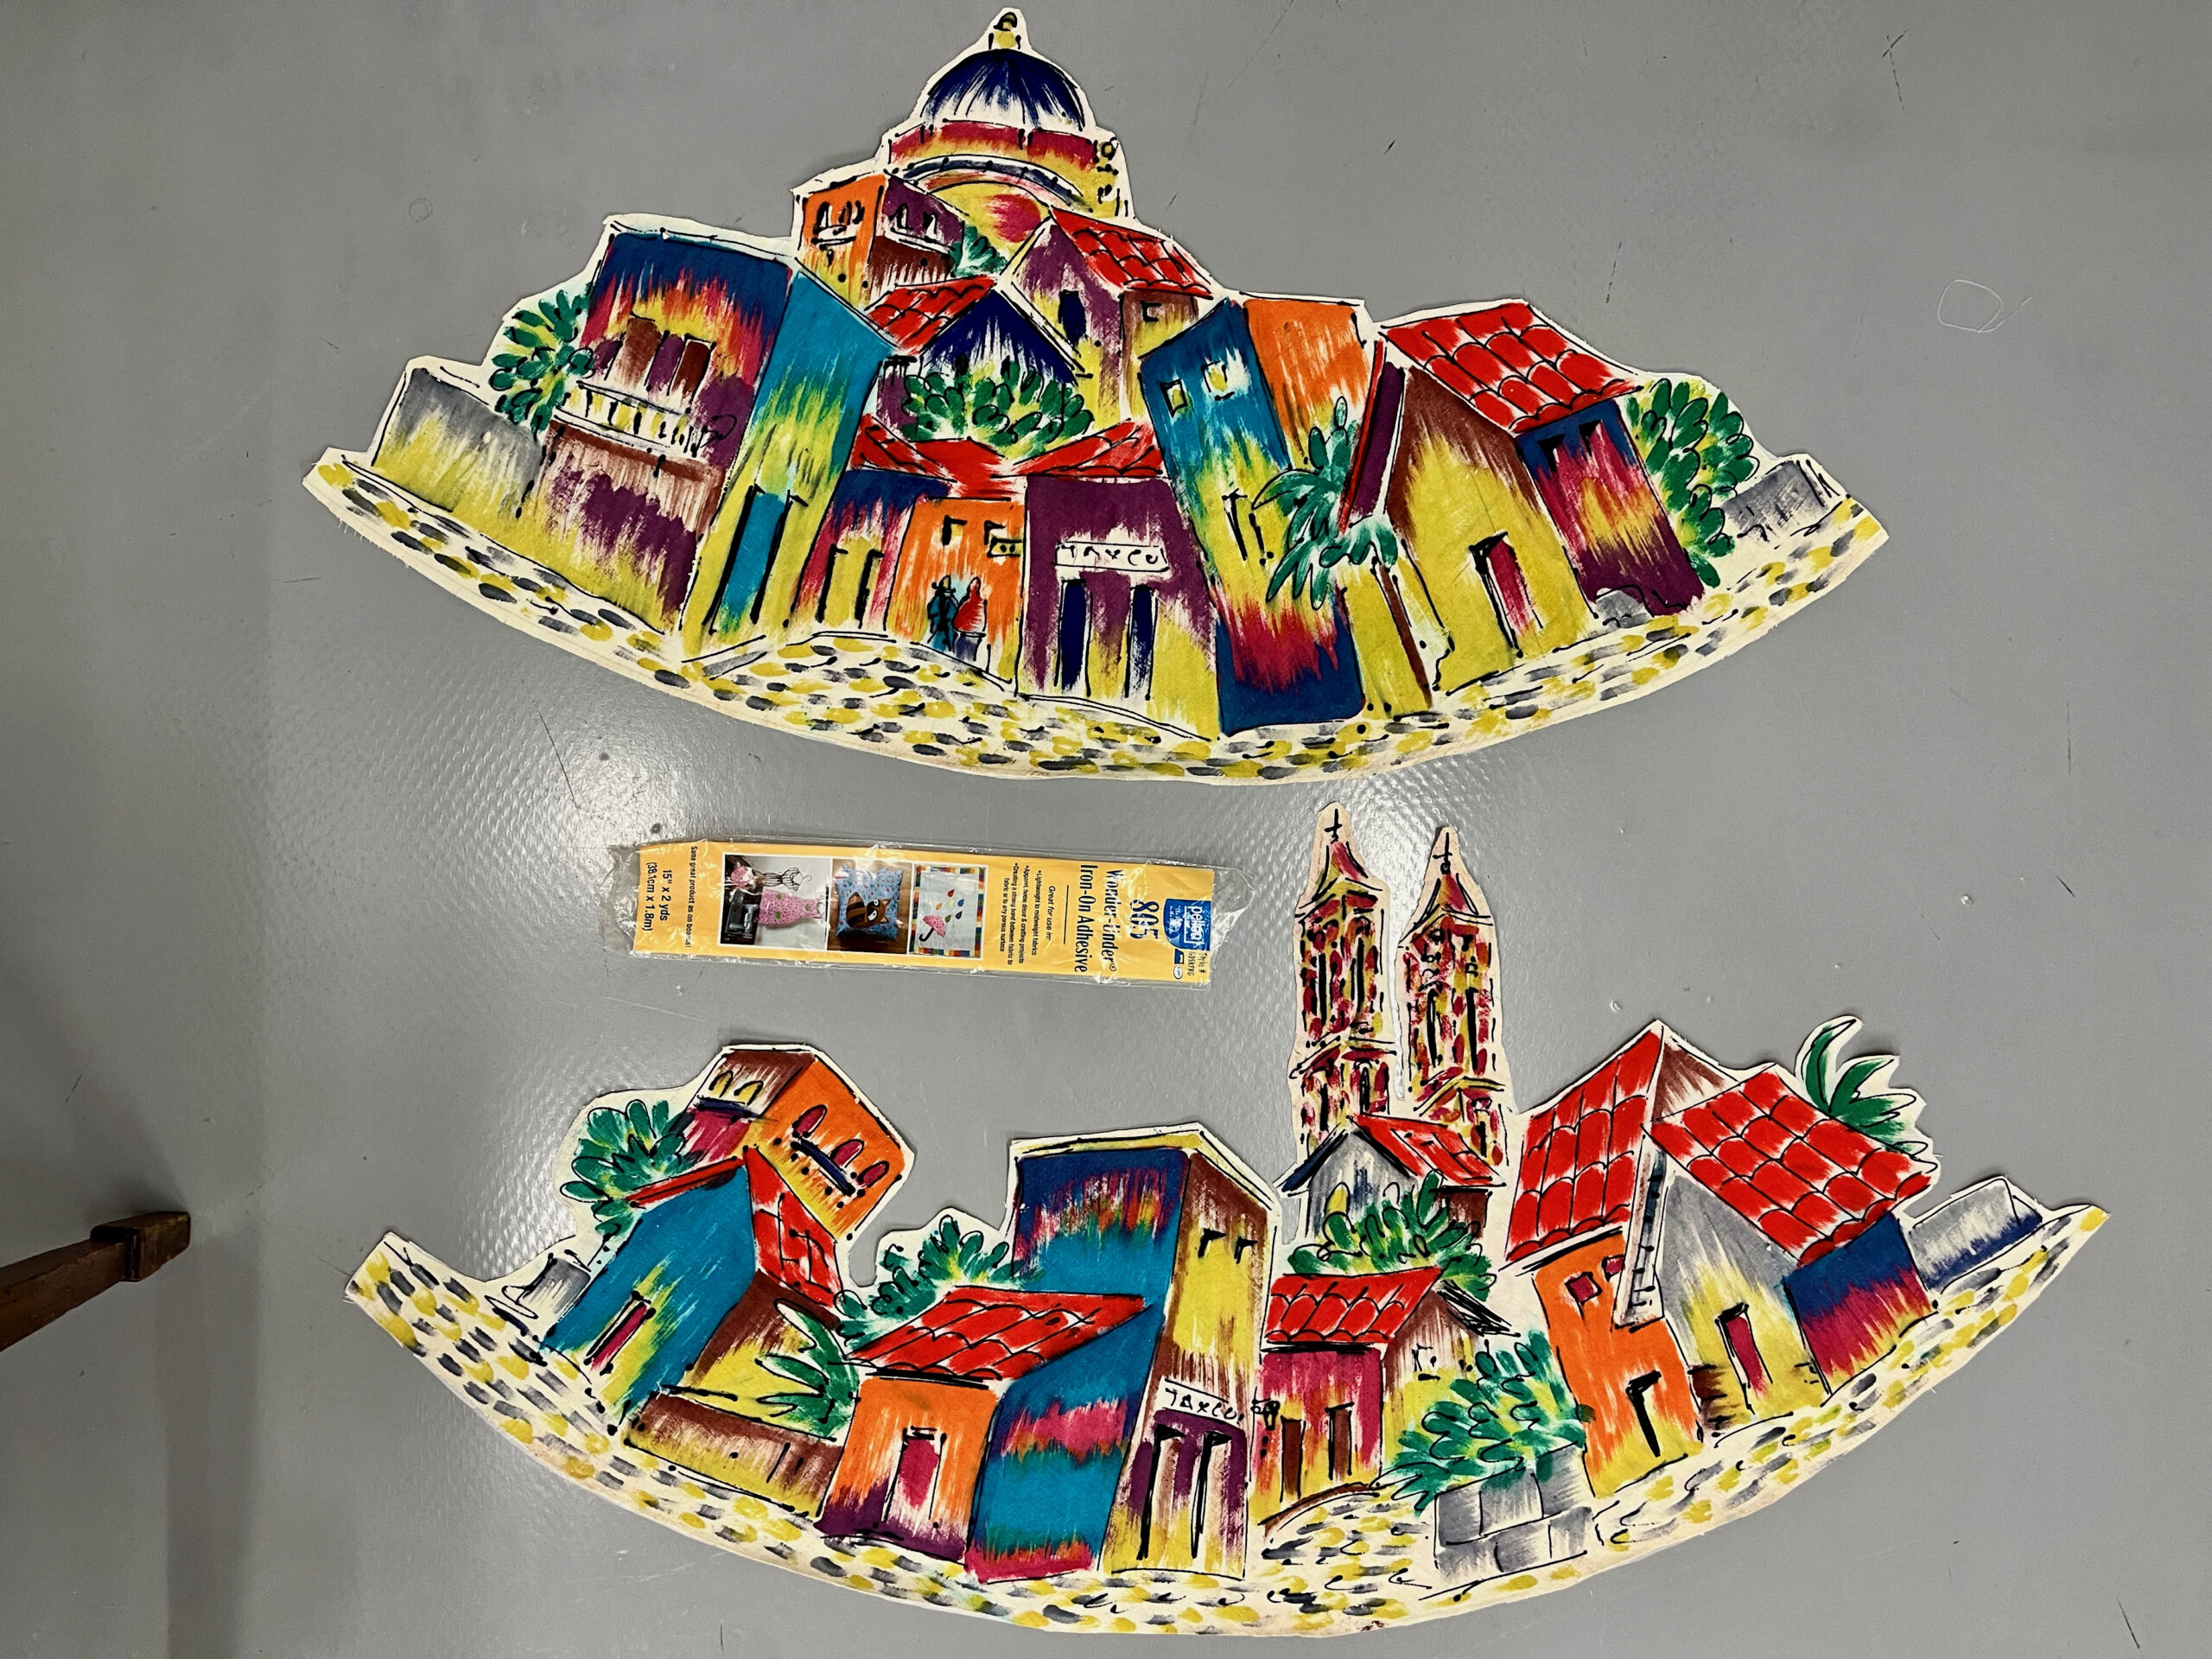


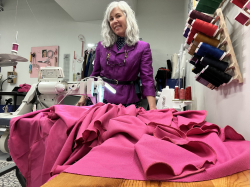
The fun begins now! Well, almost now. Free motion can be tricky and frustrating until you get your groove. This process took over 20 bobbins and 20 hours of sewing time. It looks amazing in person, adding texture to the art, although it’s hard to see in the pictures.


From years of experience, I knew I needed to tie in some color to the top of the dress. I got out all of my goodies and made thick red piping for the neckline and both armsyce.


I entered this dress into a Rosewood Art Center juried show titled, ‘The View.’ However, I did not get in. Then I got asked for two of my dresses to be in a different show at the same location for studio renters. My two dresses will be on display for three months alongside plenty of other amazing artworks.
Behind the scenes~
I won another award for this sewing blog! Fun.


This year, I have another ‘Art 365’, daily practice dedicated to expressing how practice makes progress. I’ve titled it Figures and Fashion and share every Thursday on socials.
-

- 2015

-

- 2025

Thank you for reading,
Tracy McElfresh
Dream it! Sew it!
- They’re up! Hand-pulled relief prints now at Rosewood Arts Center studio during open hours! Thanks! - June 24, 2026
- Tools To Rip Stitches - June 22, 2026
- It’s another mini handmade fashion show - June 19, 2026


Leave A Comment
You must be logged in to post a comment.